Building an African house (step-by-step guide)

People live more simply in many parts of the world. The good news is, it’s easier to bless widows like the one below that Rachel Duff-Banks and her team met in Uganda. Rachel calls this “How to build an African house for dummies.” Here’s her post about it.
Step 1: See a need.
(Her ho…
By Seth Barnes
People live more simply in many parts of the world. The good news is, it’s easier to bless widows like the one below that Rachel Duff-Banks and her team met in Uganda. Rachel calls this “How to build an African house for dummies.” Here’s her post about it.
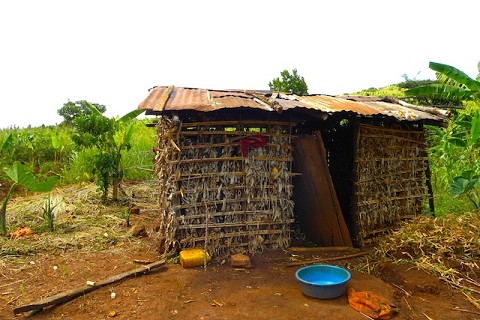
Step 1: See a need.
(Her house was literally straw, and her door had fallen off in the storm a few days before)
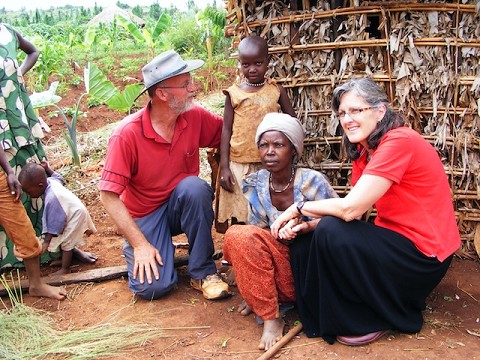
The widow and her granddaughter with Brian and Jan (the ones who invited us to help with the house).
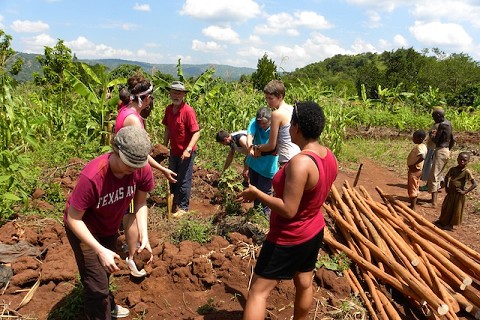
Step 2:
Saw
timber down to managable sizes, bring them up a 45 degree angle
mountain, and then start clearing a space for the new house.
timber down to managable sizes, bring them up a 45 degree angle
mountain, and then start clearing a space for the new house.
Step 3:
Start
digging the holes for the posts, try to avoid the evil ants wanting to
eat your flesh, drill holes into the tops of the posts and make sure the
posts are even once in the ground.
digging the holes for the posts, try to avoid the evil ants wanting to
eat your flesh, drill holes into the tops of the posts and make sure the
posts are even once in the ground.
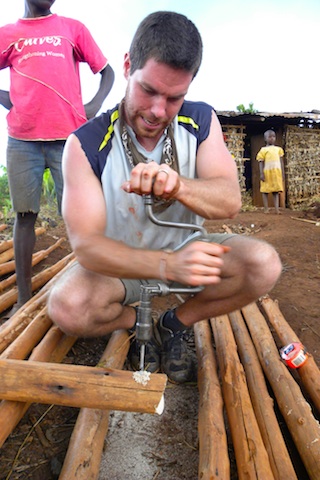
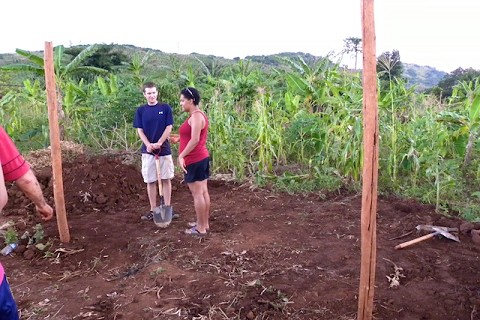
(Really, we were working!)
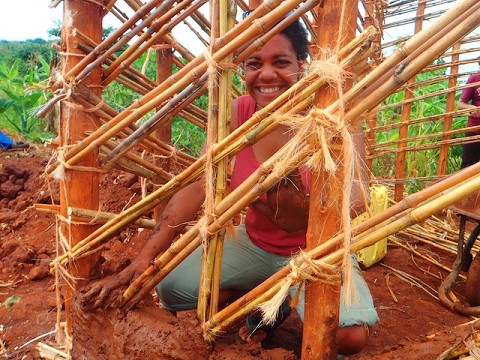
Step 4:
After
you get the posts up, start putting in the base structure. After that
put on the leeds (long, thin reeds) to further support the house.
you get the posts up, start putting in the base structure. After that
put on the leeds (long, thin reeds) to further support the house.
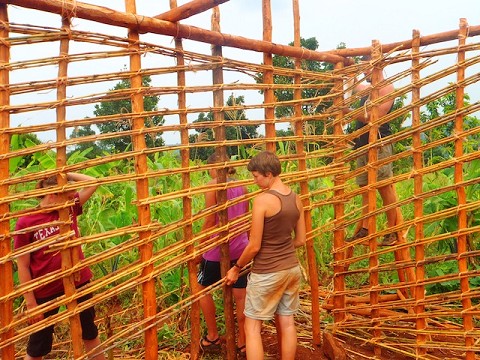
Step 5:
Go
to the nearest water source (2km away) and fill up eight jerry cans.
Then drive them part way up the mountain, and carry them the rest of the
way.
to the nearest water source (2km away) and fill up eight jerry cans.
Then drive them part way up the mountain, and carry them the rest of the
way.
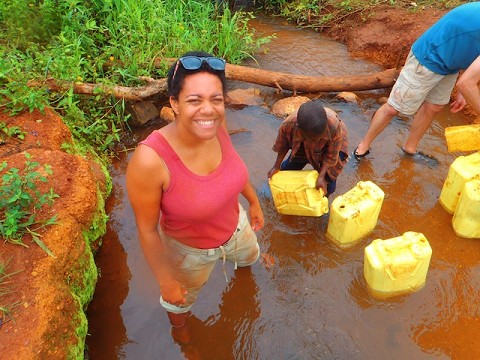
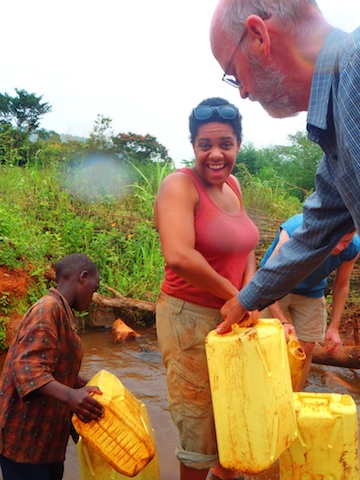
(Brian (our Australian friend), and a child that decided to help us out)
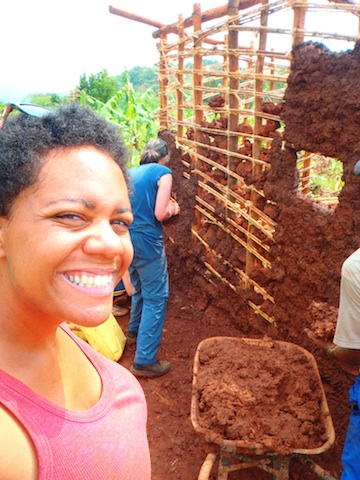
Step 6:
Use the water to make the mud for the walls. Pile rocks all throughout the leeds to strengthen the layers, then dig in!
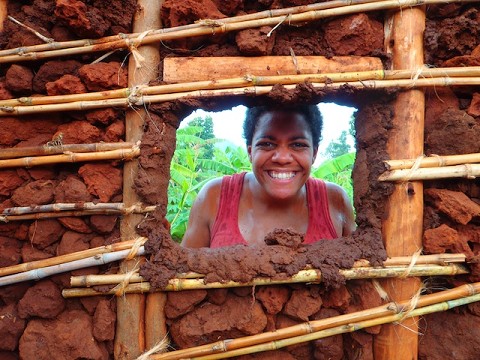
Step 7:
Allow the mud to dry, do the top coat, and put on the roof.
(Though we ran out of time because of bad rain, so I did not get to see the finished product.)
This
is the most complete picture I have. I know Bri and Josh have one with
the roof, but you will have to check out their blog to see it 🙂
is the most complete picture I have. I know Bri and Josh have one with
the roof, but you will have to check out their blog to see it 🙂

Oh, and the best part?
The
last day of building, when Krystle, Matt, Shannon (one of our squad
leaders) and I were evangelizing in the villages, The widow GAVE HER
LIFE TO JESUS! It was an amazing finish to a very fun and fulfilling
project.
last day of building, when Krystle, Matt, Shannon (one of our squad
leaders) and I were evangelizing in the villages, The widow GAVE HER
LIFE TO JESUS! It was an amazing finish to a very fun and fulfilling
project.
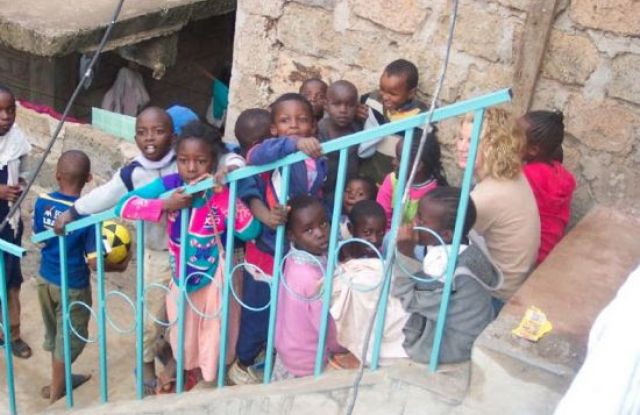

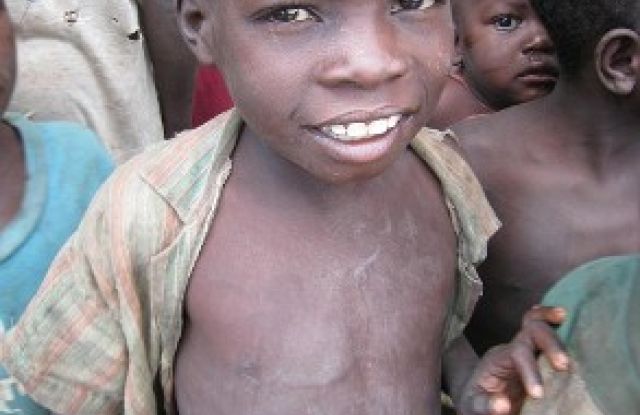
Thanks for showing these pictures, Seth. We just sent Fabrice home to Burkina Faso. He lived with us exactly one year to the day! Heidi and I will show our kids these pictures, as Fabrice told us he lived in a small house made of wood and mud. It’ll help our kids start to grasp the reality of his situation.
Praise the Lord, God will certainly give u in double measures AMIN.
wow